Techy at day, Blogger at noon, and a Hobbyist at night |
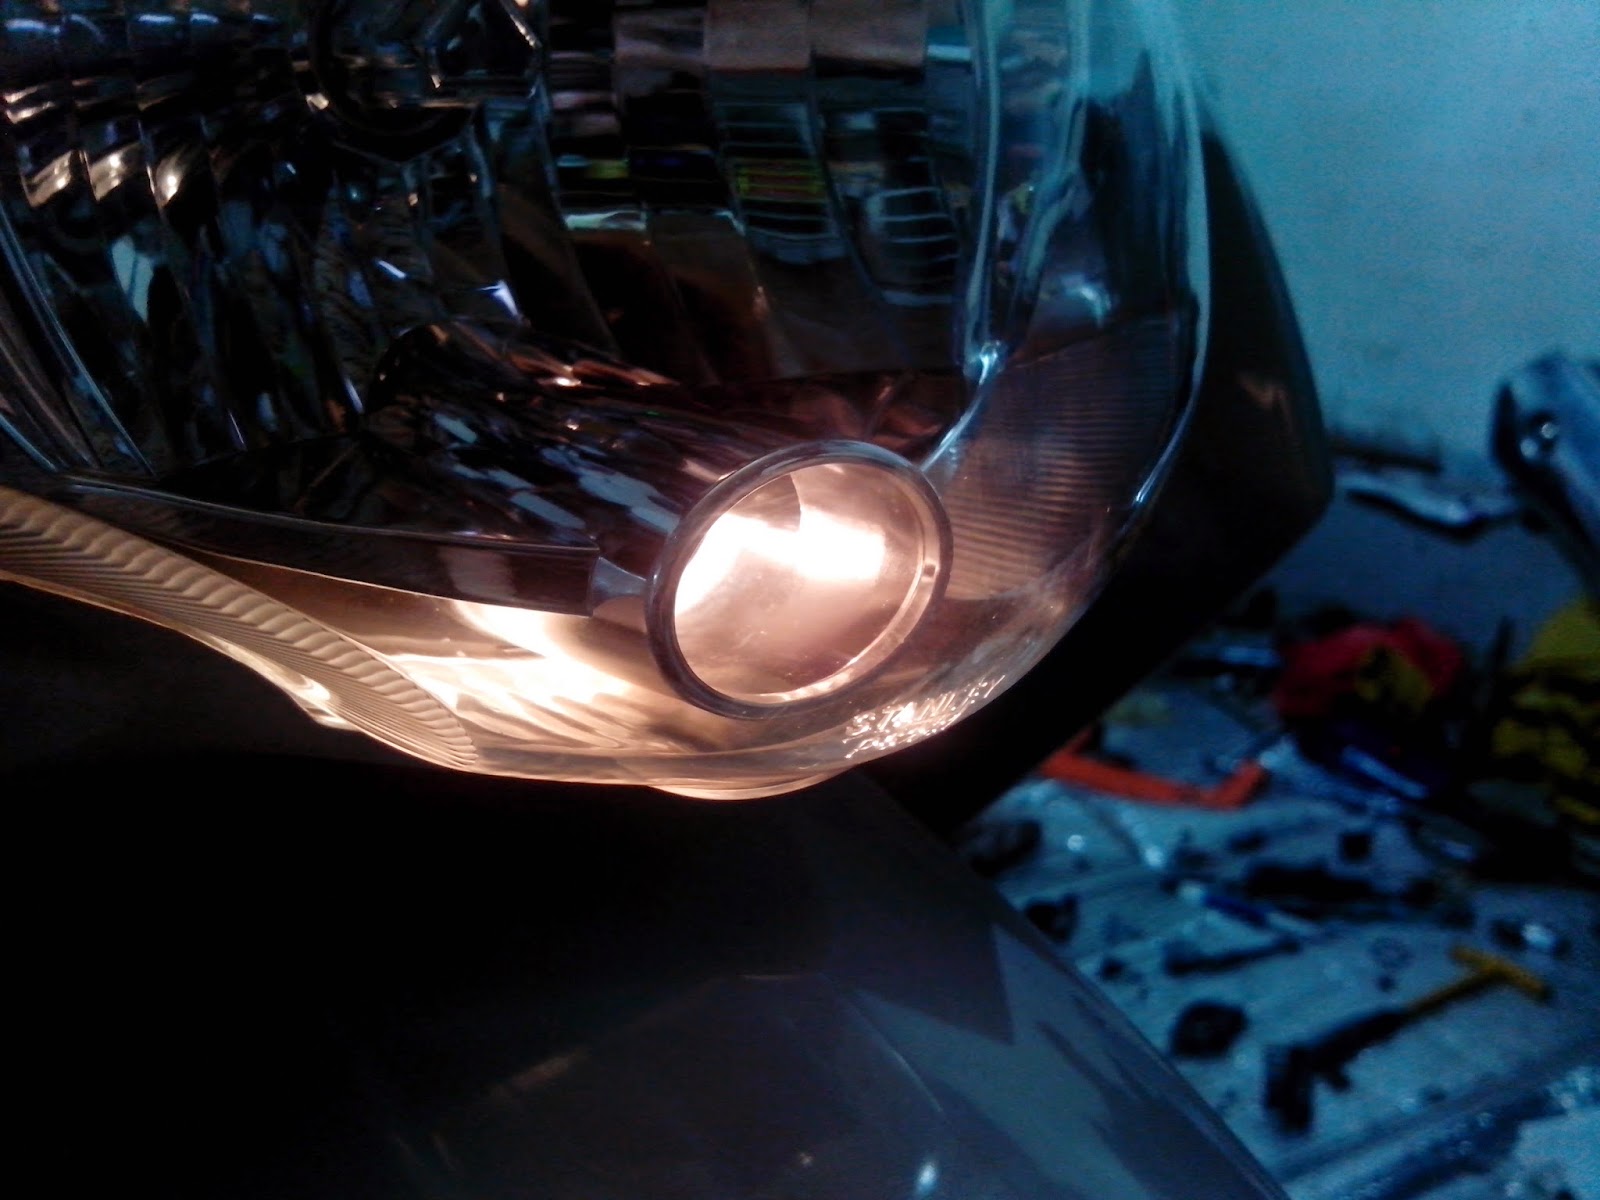
| Yamaha Mio Soul Led Headlight Conversion Posted: 17 Feb 2015 09:06 AM PST Led headlights are now widely installed on motorcycle nationwide. With their low power consumption and ampere draws from the battery, It has bloom out into the open and every motorcycle shop offers a variety from dual led to triled, to projector type with angel eyes, and all have different characteristic on how to install, the later was the difficult type fitting inside the headlight assembly. Dual and Tri are the easiest and more economical to use for the fitting will just be like of the original bulb Rear entry. How to install RTD triled on a Yamaha MIO SOUL properly? Very easy actually, but readers must be advised that to power the Led, DC must be used, unfortunately, almost all motorcycle and scooters original headlights are powered by AC being supplied by the stators. When you switch ON your headlight as the engine is running and the bulbs and panel lights are fluctuating, then automatically, It is AC powered and have to be converted first to DC before installing Led Headlights. Mio soul is the easiest one to convert since the panel lights was already DC. Isolating the wire the has the AC driven source for park and headlight and redirected to the supply of the panel lights as shown on the left picture. When done. Installing the led and replacing the bulb is by using the supplied connector, follow the procedure within the manual supplied on how to attach it to the bulb socket.
look for any sort of plastic cap of the same size of the original but with more height, in my case, I use the cap of a choke/carburetor cleaner that fits perfectly with same outer diameter as the original and when it was placed to cover the RTD triled. Perfect fit as shown, just put some small amount of super glue..DONE!!! Wiring is not that difficult too, since the system was already converted to DC headlight. follow the instruction of the three wire to which is which, Mio soul color code for the headlights are this 1. Green wire --low beam 2. Yellow wire --high beam 3. Black --ground The approach is not to cut any wires to preserve the original wiring in case problem arises with the led replacement and always ready for the refitting of the original bulb headlight.
Park light only TRILED off
|
| You are subscribed to email updates from Techy at day, Blogger at noon, and a Hobbyist at night To stop receiving these emails, you may unsubscribe now. | Email delivery powered by Google |
| Google Inc., 1600 Amphitheatre Parkway, Mountain View, CA 94043, United States | |


No comments:
Post a Comment